
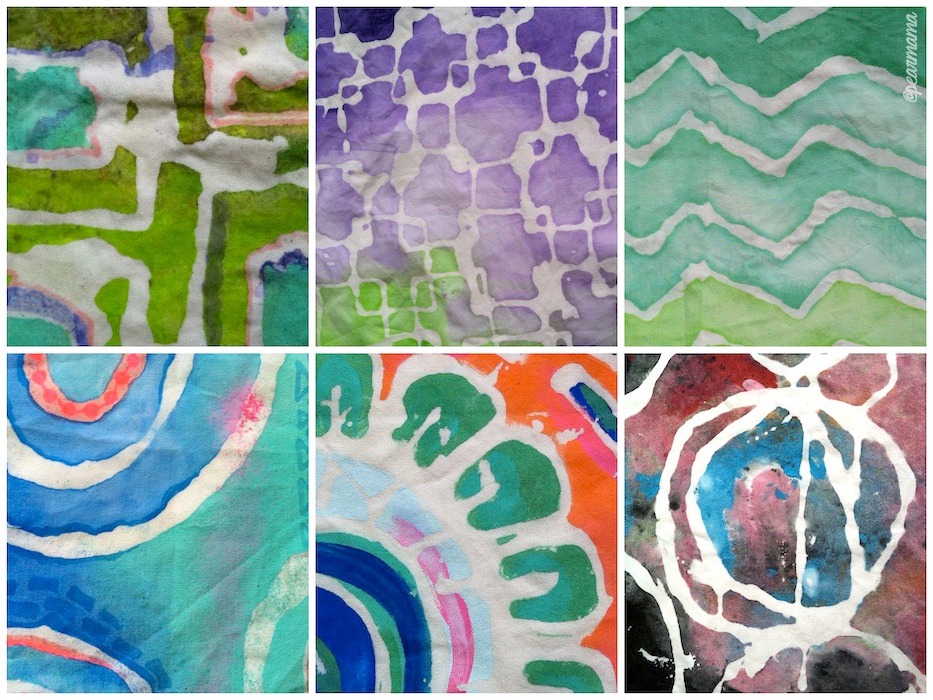
Make “batik” prints on fabric using a simple washable glue resist method
Back when I was a young warthog, I took a design class in college and learned how to make batik designs on fabric. What is batik? It’s a textile technique from Indonesia using hot wax as a resist, along with various dyes.
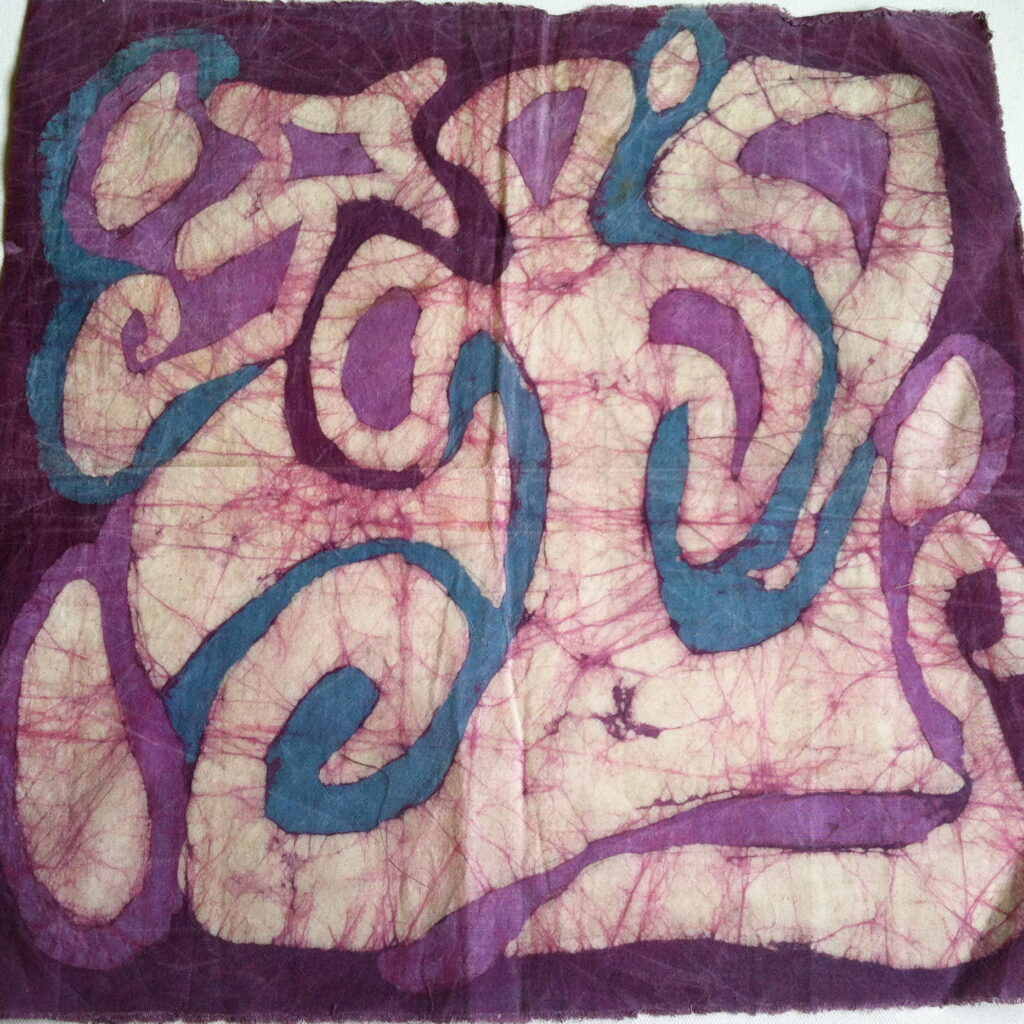
It was really fun, “drawing” with hot wax, dying our fabric squares in buckets of dye in the hallways of the art department. Awww, the bohemian artist life.
more art: pearmama art zine bundle
That fun experience really made me want to try a simpler, more accessible way of creating this resist technique. That’s when I learned about washable school glue. Everything you “draw” with the glue stays white (or the color of the fabric), leaving really cool designs behind after you paint it using cheap and easy craft paint.
What you’ll need:
- washable school glue
- paintbrushes
- craft paint
- muslin/cotton fabric
- wax paper
This technique can also be used on t-shirts, tote bags, scarves, pillowcases, etc. there really is no limit to the imagination. Cut a square to fit underneath your fabric square. This will keep your mess to a minimum and it’ll make it easier to move your fabric around.
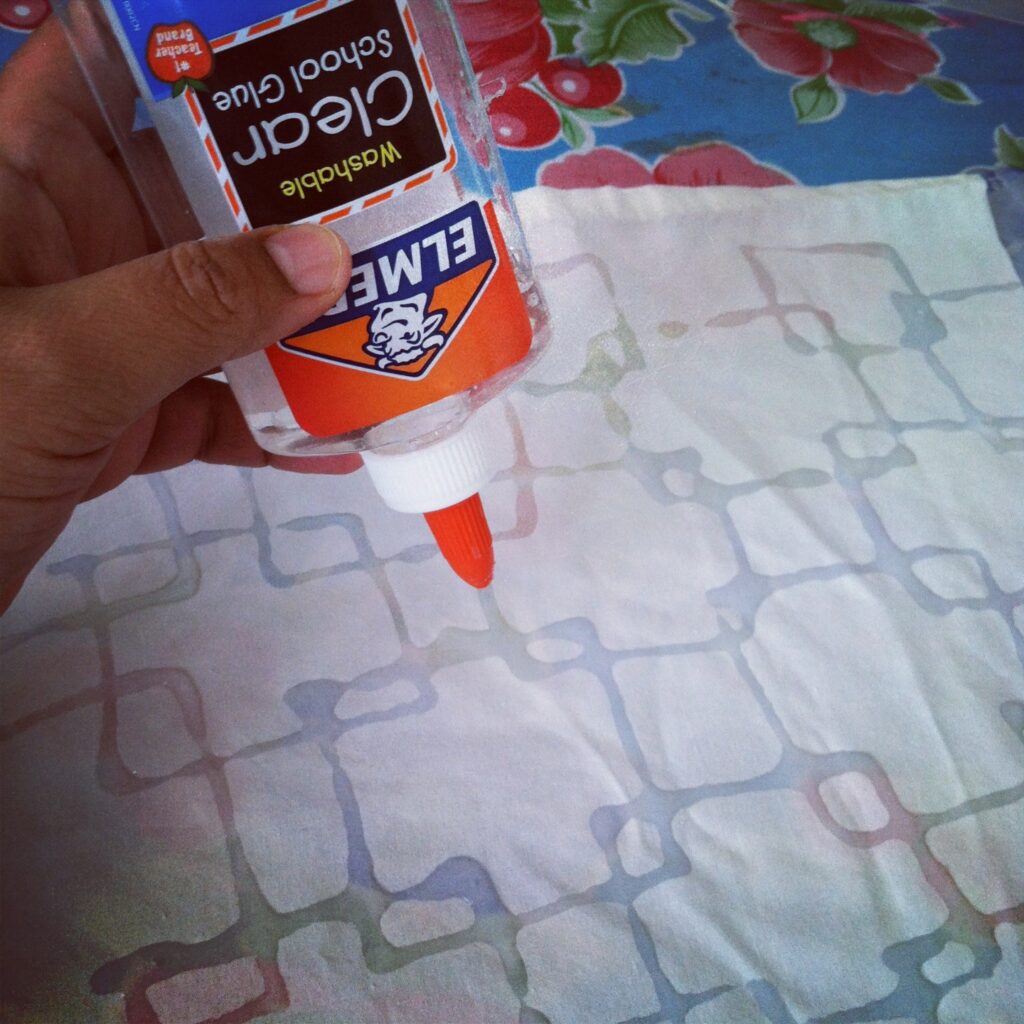
The glue flows out pretty smoothly, so kept your hands steady. Don’t glob a bunch of glue on your fabric because it does spread. Too much glue and you won’t be able to maintain the integrity of your design. Do a few different designs, play around a little. Afterwards, I let them dry in the sun.
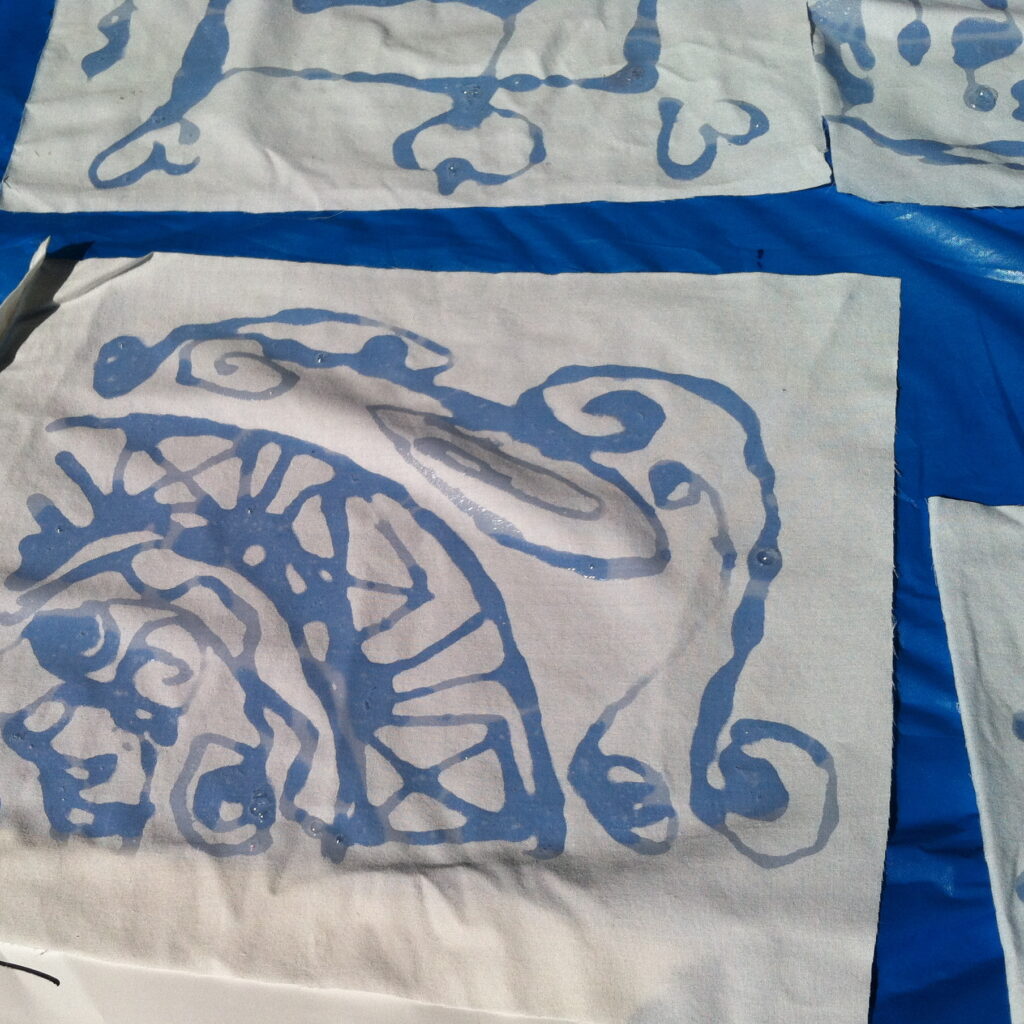
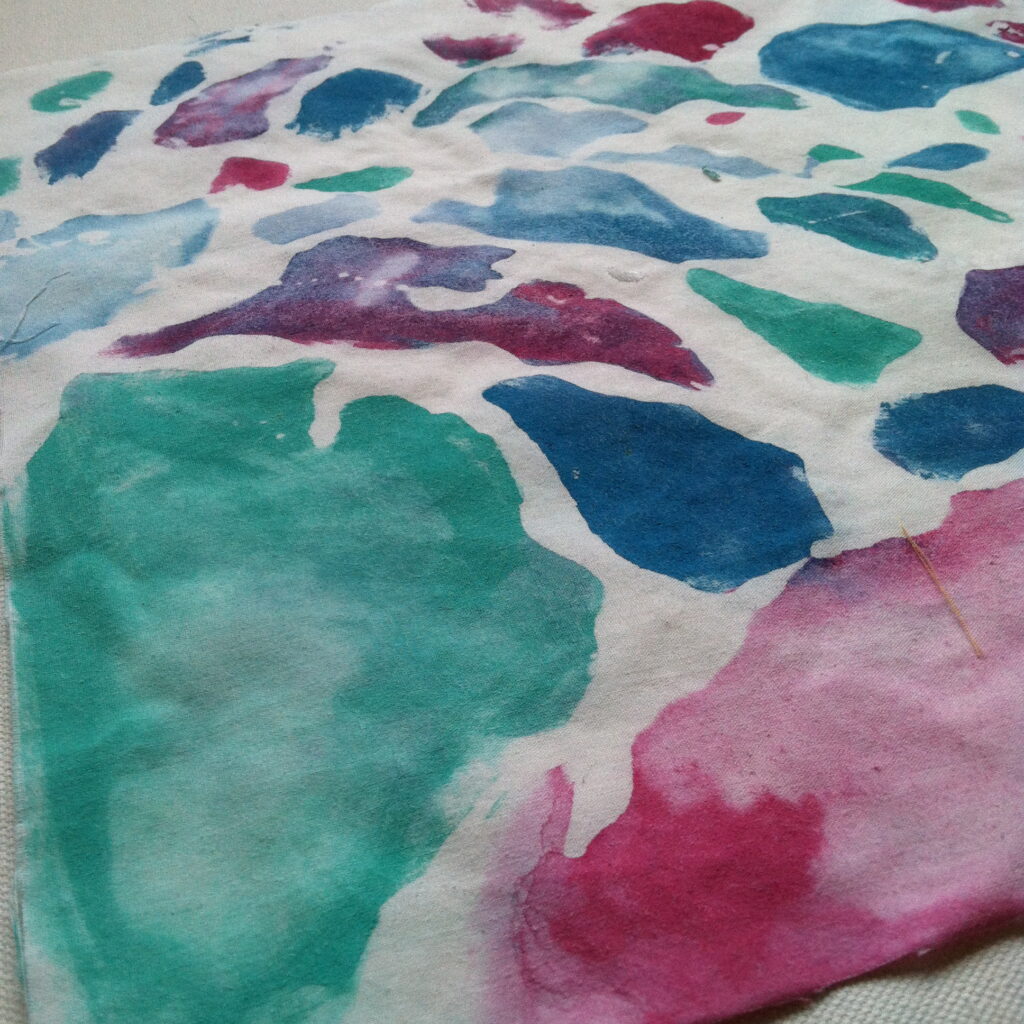
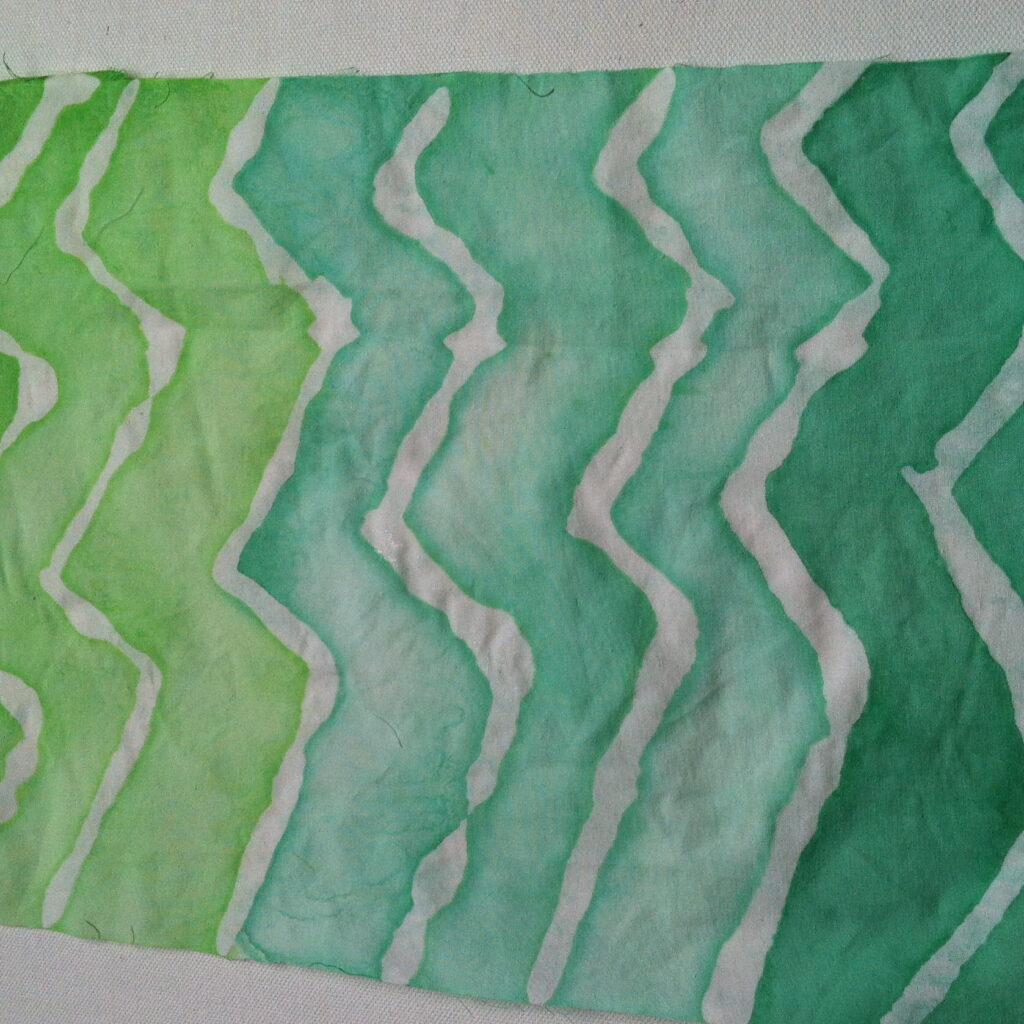
Once your glue is dry, it will be clear. I let my design dry overnight. Now you can paint it. I used craft paint but you could also use watered-down acrylic paint, watercolors, tempera paint. I just love craft paint because of all the different colors to choose from. Brush the paint onto the fabric square, right over the dried glue. You can blend your colors, create patterns, splatter your paint–you make the rules, babe. Once your fabric is fully painted, let it dry.
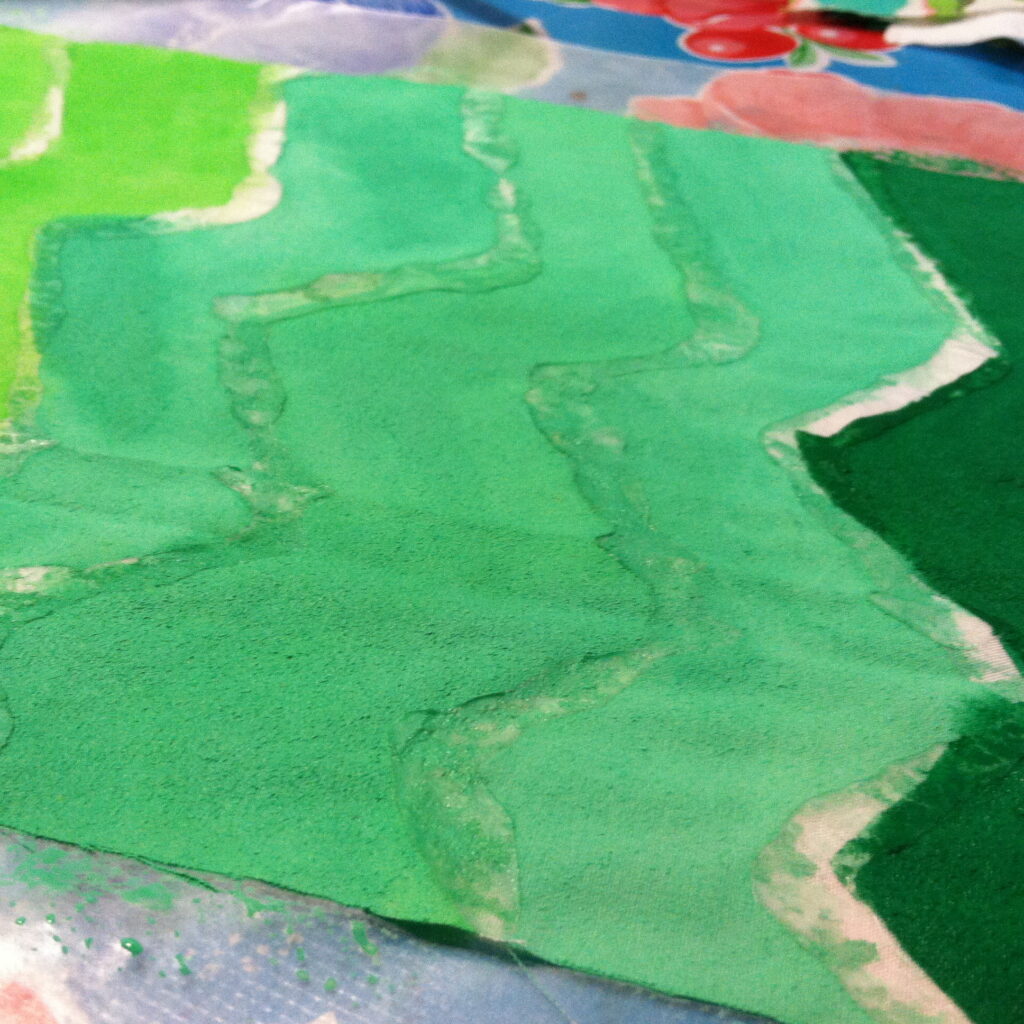
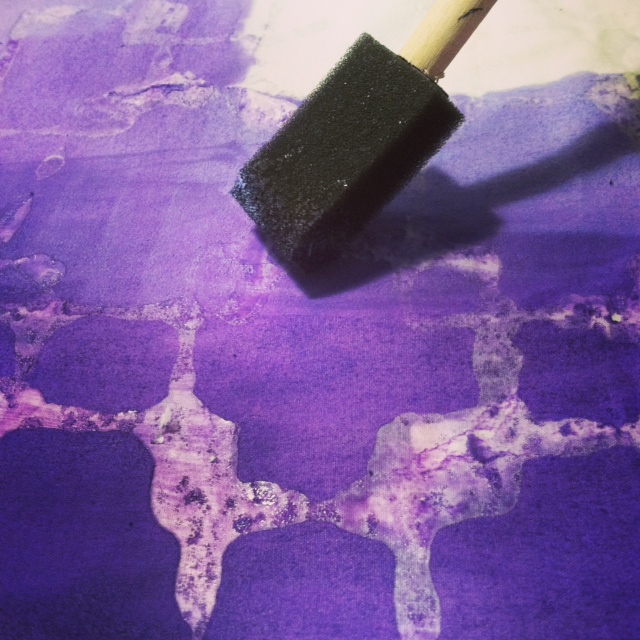
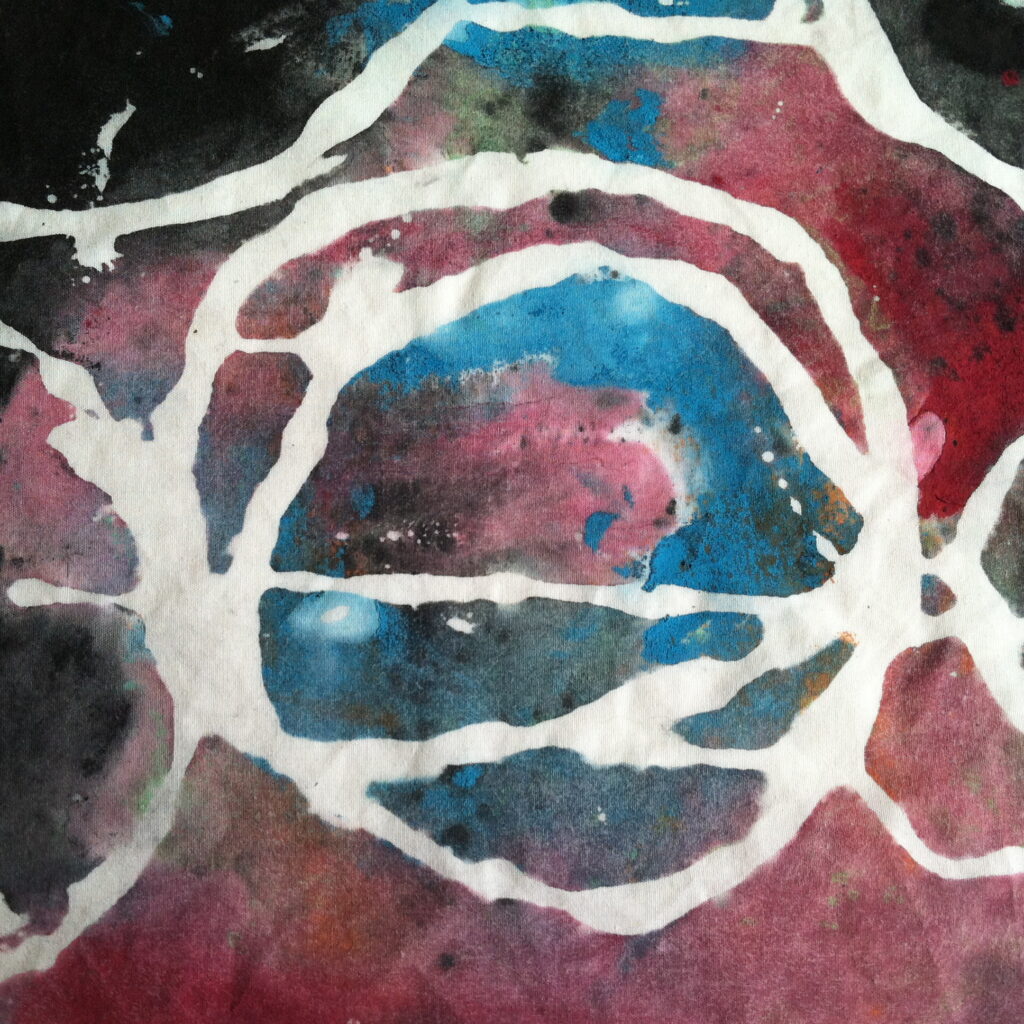
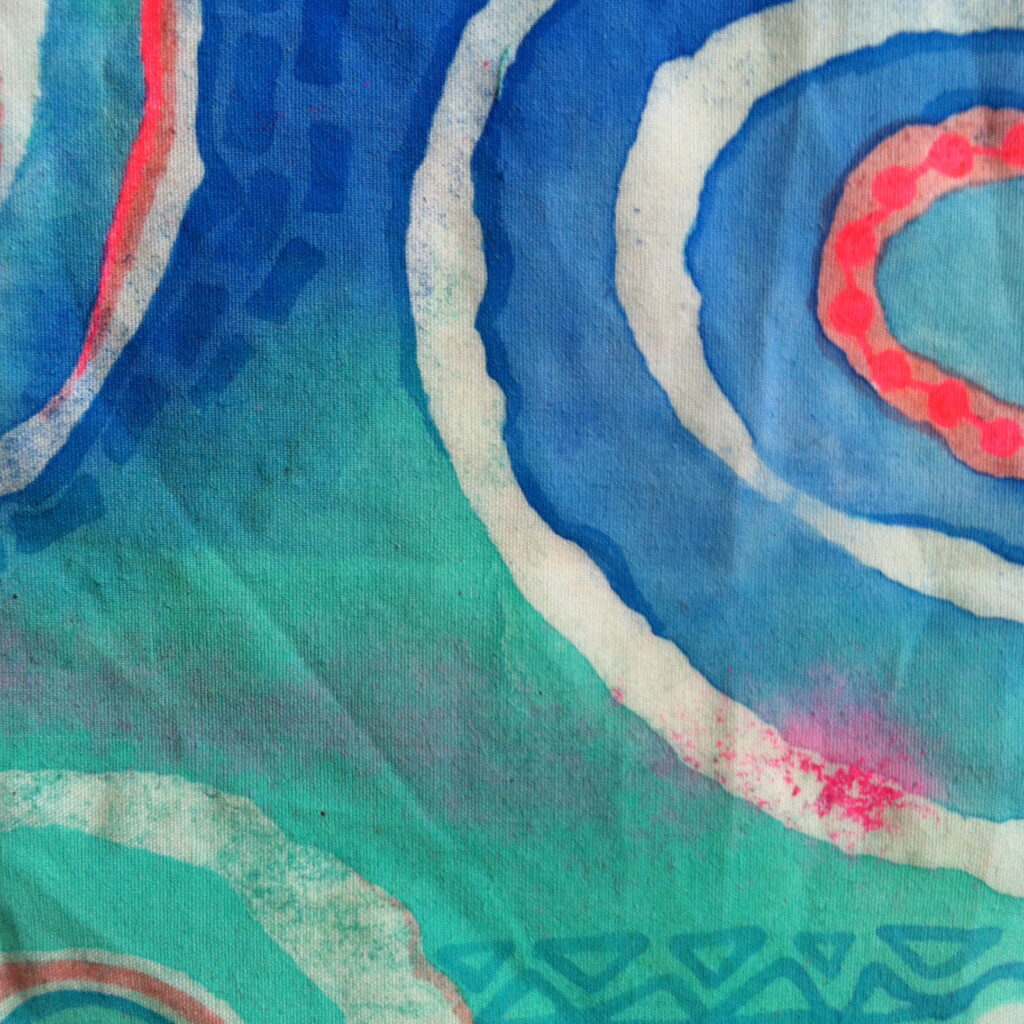
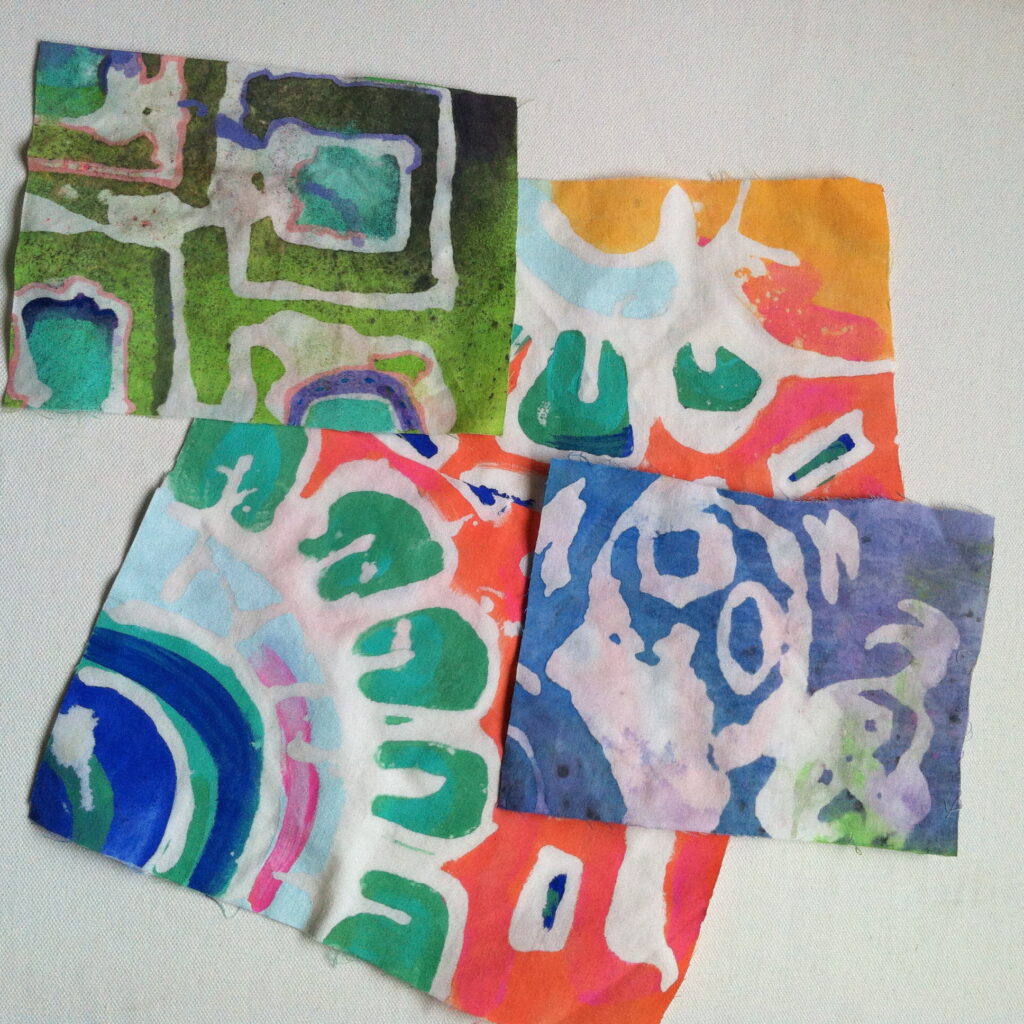
Now you can take your fabric square and rinse the glue off in warm water. You’ll feel the glue parts are a little slimy. Just keep rinsing until all the glue is out of the fabric. You’ll begin to notice the white parts on the fabric that resisted the craft paint. I’ve discovered that the stronger you want your colors to look, the more you should let your fabric square dry. If you want a more subdued color, rinse your fabric while it’s still damp-you’ll see more of the craft paint rinsing out. Use the color black sparingly because it looks a little like mold (ew). Here are some of my batik squares after they were rinsed and dried. I also added some extra designs with fabric markers to some of the squares.
more art: follow the plants art print
love it! forgot about this awesome project. by the way love your whole blog, west coast is the best coast 😉
Throwin’ up my W!!!!
LOVE this. saw something similar done with fabric dye but this is less mess
I love this! Can I do this with tie dye instead of paint though? This would make gorgeous sheets.
Definitely try it with tie-dye! It would come out amazing!
Love it! I’m taking my daughters to Bali next week, and I’m going to do this project with them this week as we learn a little about the culture. Thanks!!
Good blog…
Do you think white washable school glue would work as well?
It does but I found it doesn’t dry as evenly and you end up with globs on your fabric. Definitely stick to the glue gel.
I want to do this technique on a tee, is there a paint you would suggest that wont be crunchy and will last?
Thank you!!
Unfortunately, most “fabric” paints still end up feeling crunchy. The one I’ve had the most success with is Deco Art SoSoft fabric paints.
I would try “painting” with RIT dye and a brush.
I wanted a big tapestry to brighten up my apartment, but they’re sooo expensive! I found this tutorial and prayed it would work on a larger scale. I used a twin sized 60% cotton, 40% polyester white bed sheet. I used Elmer’s glue as the resist and the cheapest tie dye from Walmart. My design was a big hot air ballon on a blue “sky” background. I drew the picture out with a yellow washable marker. I laid out a giant tarp and “painted” the dye on with different sized sponges. I tried for an ombre look on the balloon by starting with pink and mixing in a spoonful of yellow dye powder every layer down. I was a bit worried the dye wouldn’t stay well on the partially synthetic fabric, so once it was done I let it dry, folded it up, and let it sit for a week. I washed it with ice cold water in the bathtub; the glue and marker came right out! I had pretty low expectations on this project, since I wouldn’t consider myself an artistic person, but it turned out way better than I thought possible! The colors blurred a little, but if I had been more careful I could have prevented that. I plan on doing several more, probably with abstract designs, so there’s a little more forgiveness in the bleeding! Thanks for the awesome idea!
This makes me so happy to hear! What an awesome idea — I’ve got to try this on a bigger scale, too.
have you ever tried this technique and soaked the fabric in a dye bath?
I never have but I bet it would look fab!