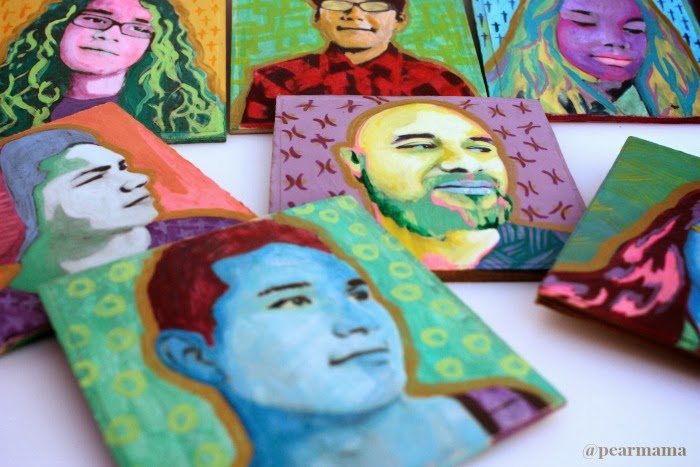
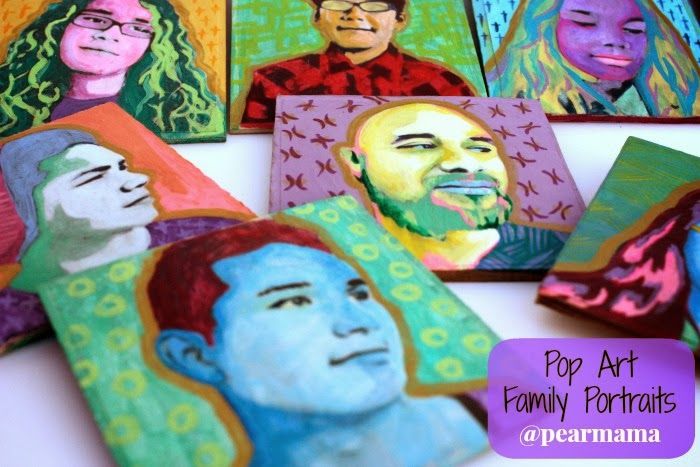
Make your own creative Pop Art portraits à la Andy Warhol using simple wooden craft squares, craft paint and Mod Podge.
I had an idea for Christmas ornaments using my family’s portrait. It was borne out of the fact that Xixi’s handmade gingerbread ornament that she made in kindergarten broke in half when we were decorating the Christmas tree. The cute one with her little face on it. We were bummed.
So, I decided I would just make my own ornaments with the faces I love the most.
It’s become painfully obvious that my sons are no longer the little boys with high-pitched screams that ran around my house while I was trying to fold that last load of laundry. My girls aren’t those chubby toddlers dragging their baby dolls down the hall. Ugh, my heart. I realize that they are growing, living, loving, learning and striving and I’m just thankful I got to be a part of such lovely creatures.
So I made all of these “ornaments” and I was all set to share them and post a tutorial. Funny thing, though. Once I finished painting these, I couldn’t bring myself to drill a hole in them. I decided to leave them as is because they looked really cool as tiny works of art. Soon enough, they’ll be mounted in a frame so we can enjoy them everyday. Until, then. I’ll show you how I made them.
I decided to make these in a cool Pop Art style, à la my Andy Warhol-inspired Pop Art Portrait project.
What is Pop Art, anyway?

Here are the steps I took to give my portraits that Pop Art look. I used PicMonkey to edit all of my photos. PicMonkey is my jam. I resisted it for so long, struggling with Photoshop and Picasa. I still use Photoshop often, but with PicMonkey being so easy, I tend to head toward that monkey because he is cute and winks at me.
How to make your own Pop Art Family Portraits
Step 1: Open up an image that would make a good portrait–close up, good lighting, nice pose and crop it
Step 2: Make your portrait black and white
Step 4: Boost the drama factor with the Gritty filter
Step 5: Posterize it!
Do this to each of your family member’s portraits. Save them to your computer and then print them out.
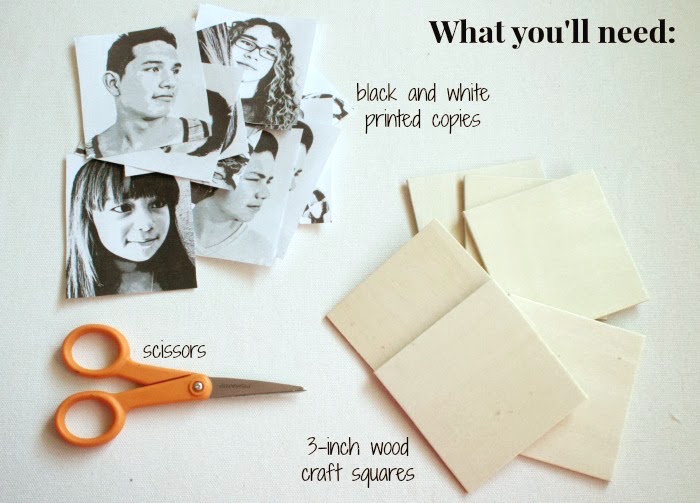
You’ll also need:
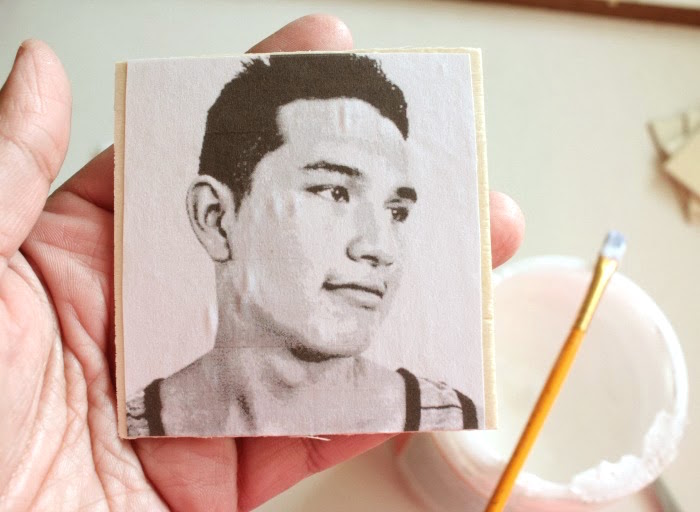
I found the wooden squares at the local craft store for a mere .29 cents each. You could also use a small canvas, cardboard or watercolor paper. I went ahead and printed all of my portraits on regular printer paper in black and white. Remember to fix your settings when you print so it will fit onto the 3-inch wood square (or whatever size you choose).
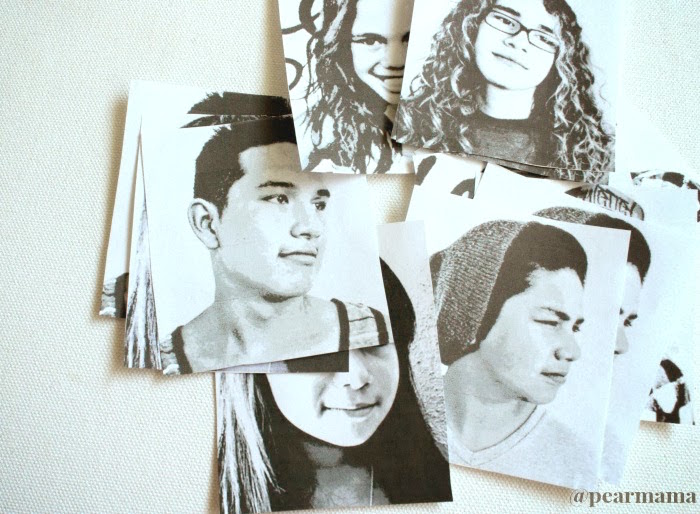
I love working on projects where I get to look at the faces of my beautiful babies all day.
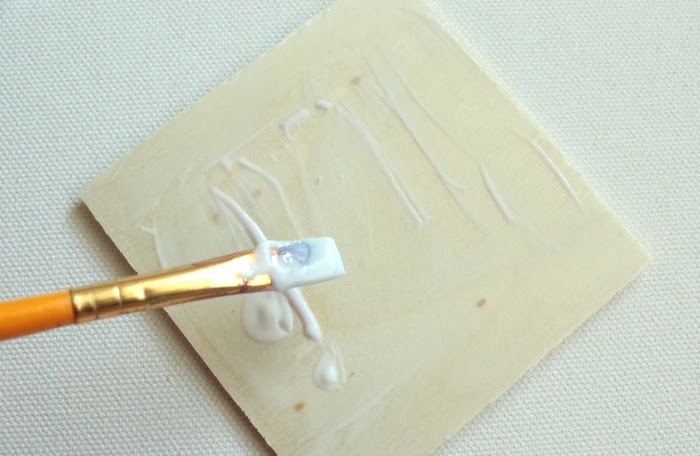
You’ll need to place the printed copy down on the wood, so spread a coat of Mod Podge or glue first. I prefer Mod Podge.
Make sure you get all of those little bubbles smoothed out. Those bubbles drive me crazy. Repeat this process on all of your squares. Let dry. Then you can start painting!
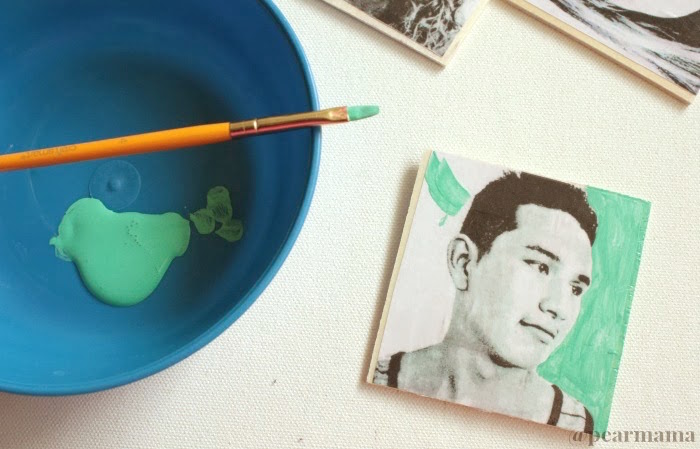
Let your imagination go wild! Paint pink hair, blue skin, yellow lips–it’s totally up to you. Be bold with your color choices. If you use craft paint, you’ll have tons of color options at your fingertips.
I tried to make each portrait unique by creating different patterns and color palettes. I painted a gold halo around everyone’s head because I love gold paint and it looked amazing! I think my husband looks just like a royal priest with all of his lovely children. Love!
RELATED: Mod Podge DIY: Geometric Jewelry Dish
Since these were supposed to be ornaments, I painted two sides so each child has a flipside to their artwork.
After each portrait was painted, I brushed a coat of Mod Podge over it. You can use whatever finish you like–I chose gloss because I’m all about that glossy life. I love love LOVE the look of a glossy finish.
RELATED: How to Make a Children’s Memory Book
These were a lot of fun to make and my kids liked to see their portraits painted (“I look good, mom!”). Also, I’m happy to have my babies immortalized in my artwork. Forever young, forever beautiful.




Really really like this. I’m sure my painting would be sucky but I could try LOL!
It wouldn’t be sucky–it would be super unique just like you.
These are super cool! I want!!!!!!
Thank you, amiga. So easy and so fun!
so cute..
Gracias!
so cute, I love working with Mod Podge. I’m thinking this would be great on tile??? Always fun to try.
This is awesome and I will try! (Kids too grown, waaah.)
Cristy (fr. Ohio)
I’ve been wanting to do Andy Warhol paintings with my family and dog photos. Thank you so much for the instructions. It’s super cool that creative people like you share what they know with us! Thanks soooooo much!!!
Can this be printed out on a ink jet printer without running when you Modge Podge it?
A little bit of smearing happens. Just have a light touch when applying the Mod Podge. When you paint over it, you won’t see the smears anyway. 🙂
Luv, Luv, Luv this idea!!! I have 13 grandkids, so I know what I’m going to be doing!! Thanks so much for sharing this project!!
Awesome! Have fun.
Love it….can’t wait to try it…I have 4 boys so my wall is going to look great!!! thanks for sharing.
cheers from Dominican Rep.
Wow!! What kind of paiant i should use?
Thank you very much, it’s wonderful
Thank you! Any kind of artist acrylic or craft paint will do.
Hi,
Love your work! Are you using water colors?
Ive been painting away and I am just wondering what type of paint.
Thanks for the fun project. You can see my work on pinterest.
Best,
Melissa
Thank you! I actually used craft paint for this project but I love watercolors too!
These are WONDERFUL! Love your ideas and how you broke it all down.. Im on the fence if it would work with my first grade art group, but Ill give it a try! Thanks again! ek
Thank you! I’ve done this with first graders and although you end up doing all the steps and they only get to color it, it was fun.
will this work with acrylic paint?
Yes, that’s what I used, acrylic craft paint.