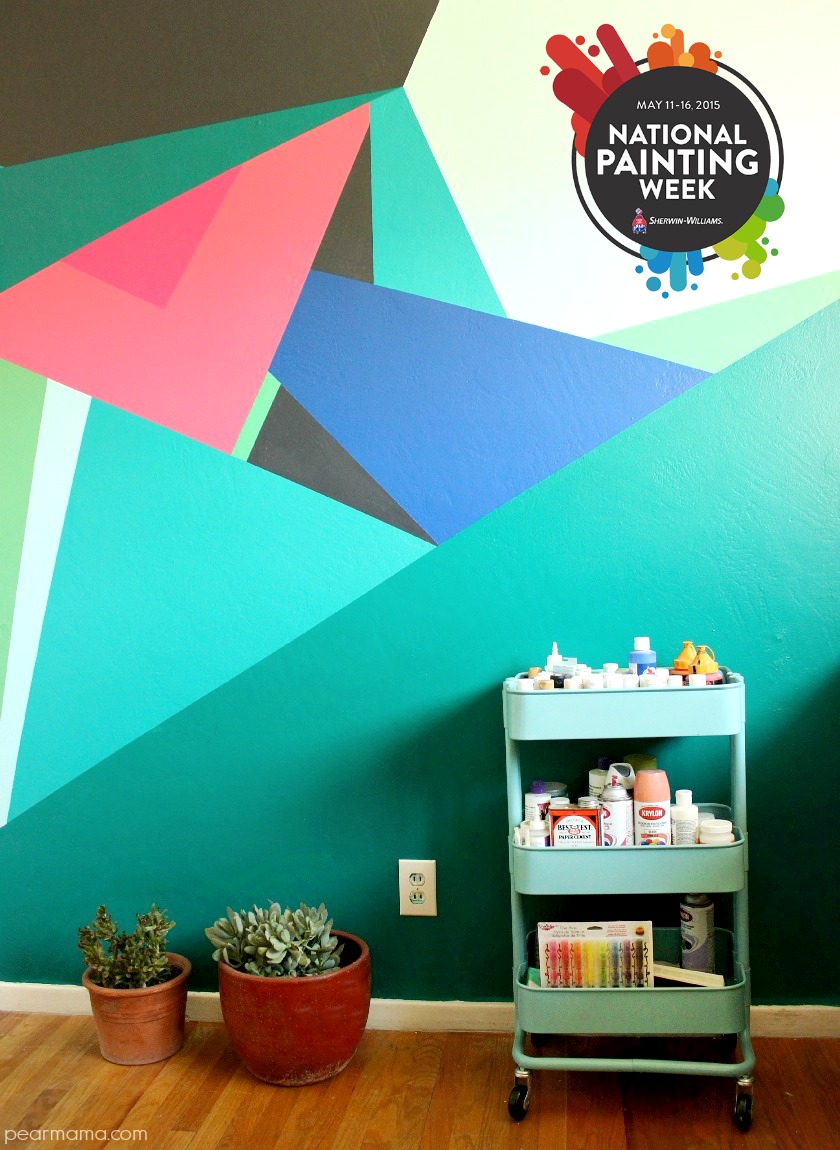
Transform a wall in your home into a work of art. All you need to create this geometric design is paint from Sherwin-Williams, painters tape and patience.
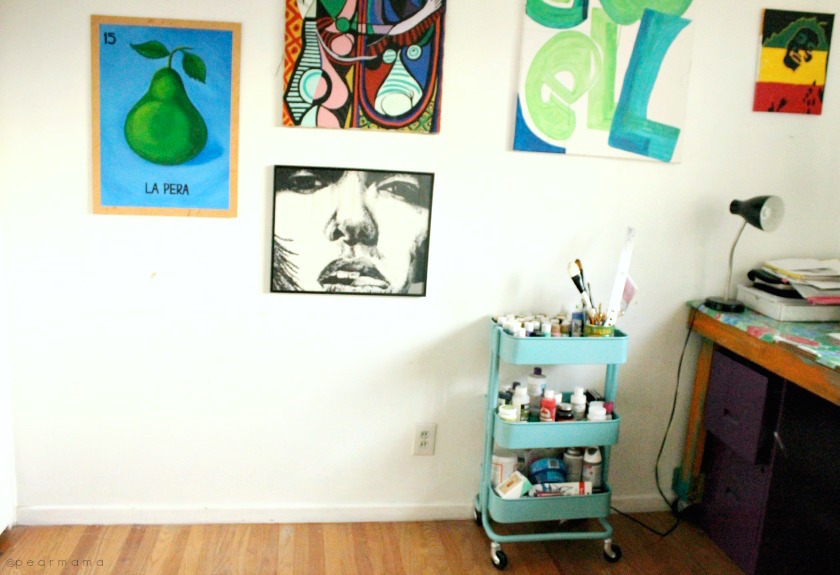
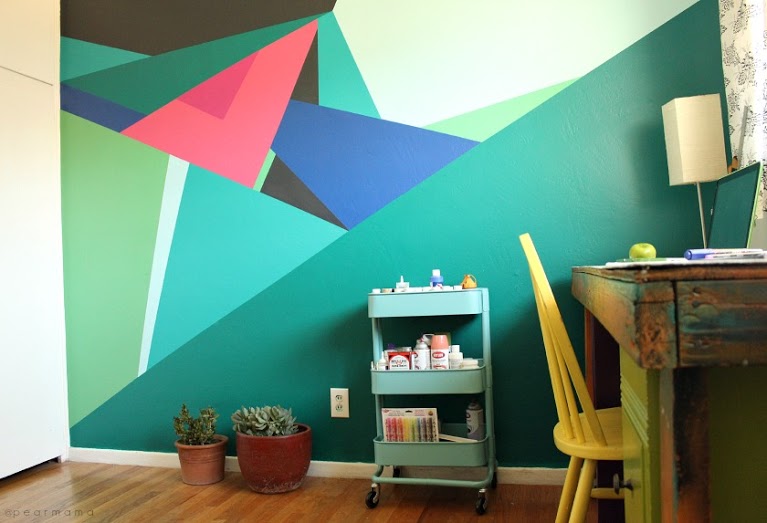
My home is filled with colorful walls and furniture and I love it. My home office, however, looked like it belonged in another home — it was plain and drab with wall to wall white. I tried my best to bring some sabor to the space by displaying some art but it still needed some major help. Inspired by geometric shapes and National Painting Week, which kicks off May 11, I decided to create some real wall art in the form of a geometric design using paint from Sherwin-Williams.
To get started and brainstorm a color palette, I downloaded the ColorSnap Studio™ App on my iPad. This app makes it super easy to find the perfect color you are looking for. Check out this quick video explaining how to use this app.
How fun is that? One of the color suggestions the app provided was SW 6762 Poseidon. It is the perfect shade of the Pacific Ocean! The ColorSnap Studio app provided me with a great jumping off point for my geometric design.
I really like this app and it’s free, guys. Yesss!
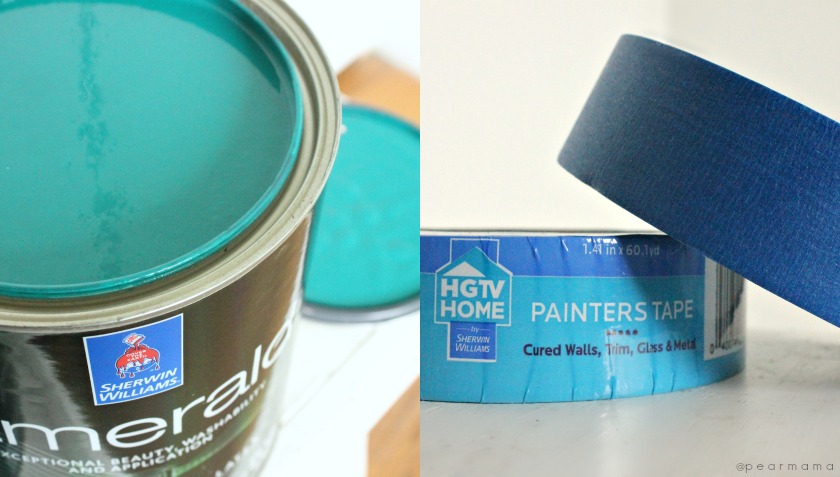
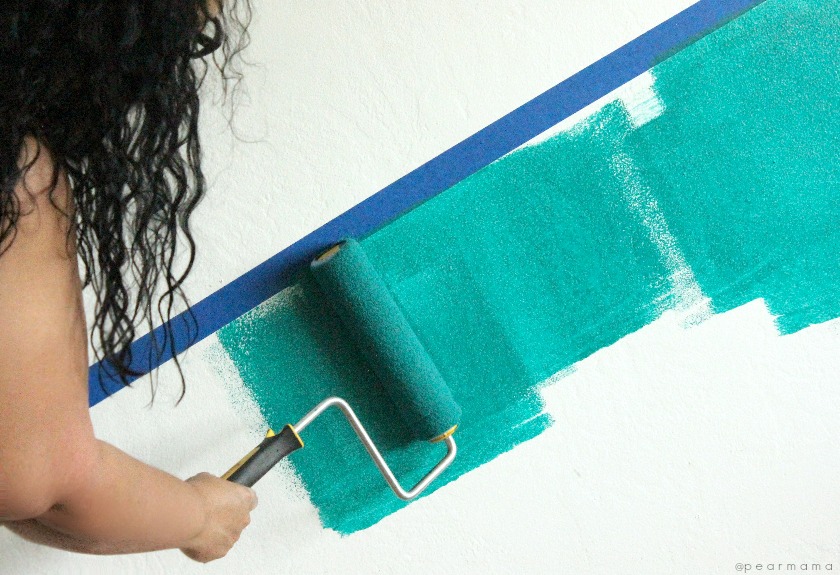
I started my wall design with three colors but as I progressed, I added more color choices that I had in my studio from other diy projects I created for Sherwin-Williams Latino. If you are a diy beginner, you don’t need to use so many. Three to four colors will create an awesome geometric wall. For this project, blue painters tape will be your best friend. I used HGTV HOME™ by Sherwin-Williams 1-1/2″ Masking Tape.
RELATED: Think Pink | Exuberant Pink Accent Wall from Sherwin-Williams
What you’ll need:
- 3-4 different paint colors (quart size will work unless it’s a very large wall, then go with the gallon size)
- paint roller
- paintbrush
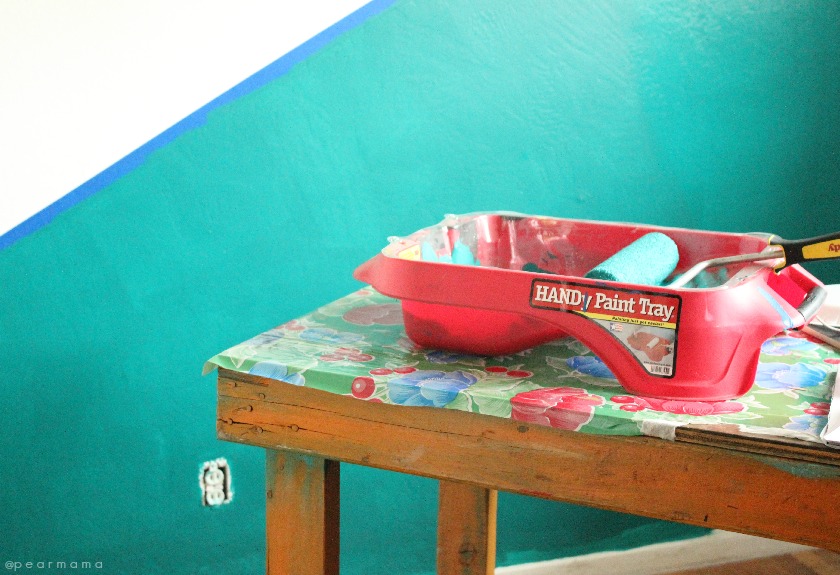
- paint tray
- blue painters tape
- drop cloth
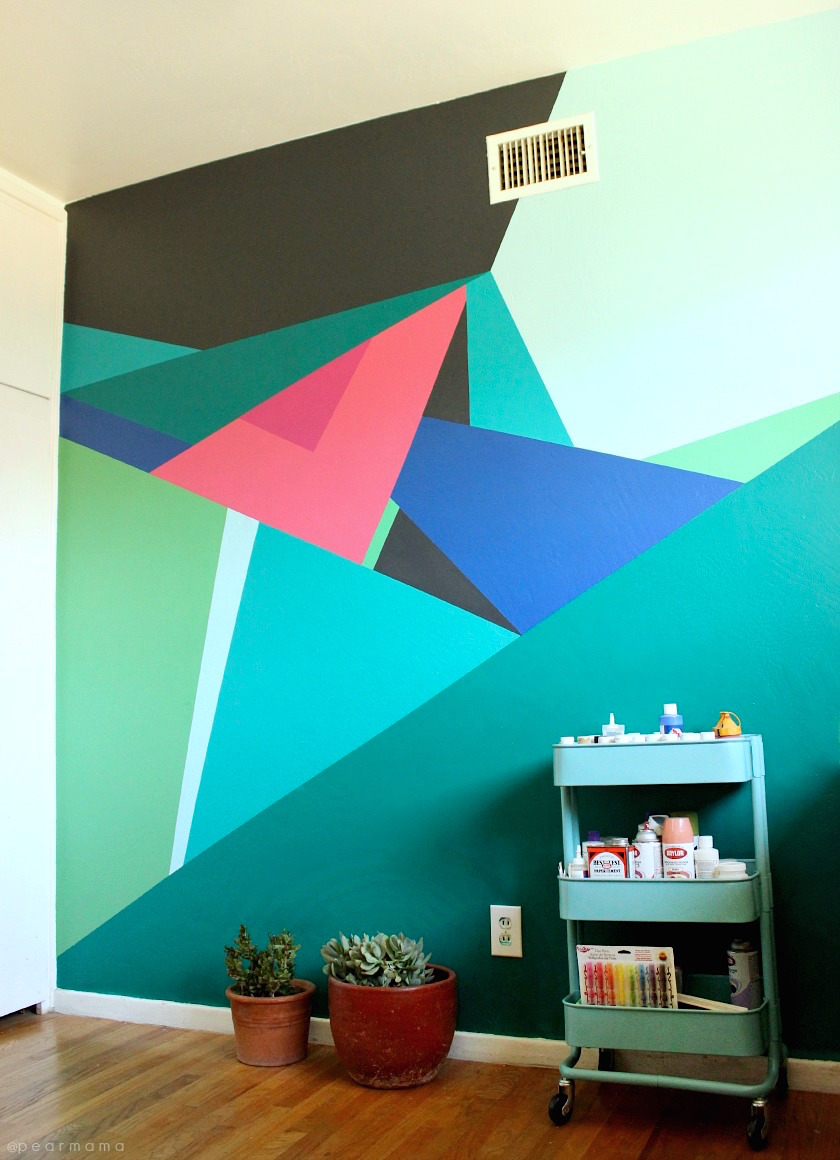
- Colors I used: SW 6762 Poseidon, SW 6739 Eco Green, SW 6765 Spa, SW 6855 Dragon Fruit, SW 6840 Exuberant Pink, SW 6967 Frank Blue, SW 6759 Cooled Blue, SW 7076 Cyberspace
DIY tip: Buy extra paint rollers and trays (trust me, it’s just easier that way). If you are using three different colors, consider buying three paint trays and three paint rollers. This will save you the hassle of cleaning up as you switch from one color to the next. It will also cut down any color contamination and mess.
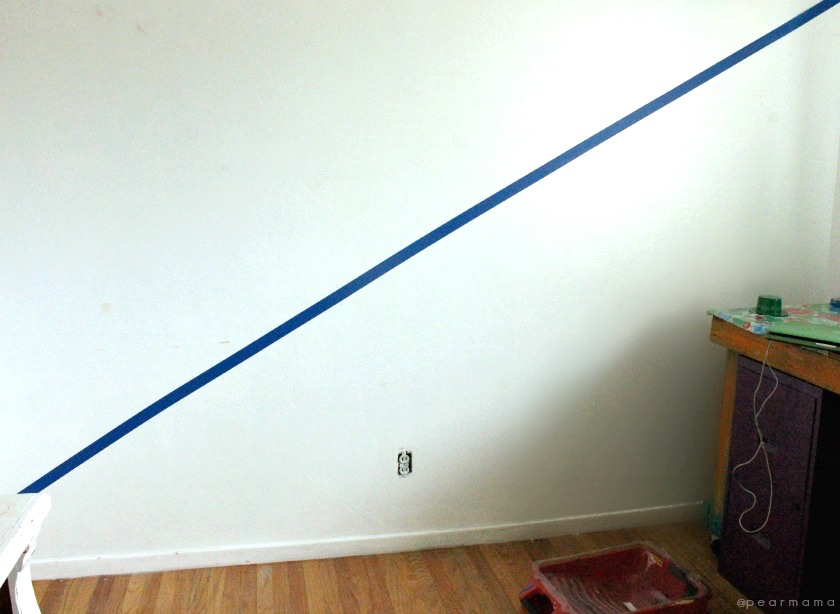
As always, take the time to prep the wall. Remove light switch plates, vent covers, etc. and fill in any holes with putty, then sand until smooth. Lay down a drop cloth to ensure your floor is protected from any paint spills. Once prep is finished, do a quick sketch of how the wall sections will be divided. Keep your design simple and use the blue painters tape to make the geometric shapes. Be sure all tape lines are straight and apply firm pressure when applying tape so the lines are crisp. I created a large diagonal shape to start my design with.
As you begin to paint each section, let dry between coats. Most sections will need at least two coats. As soon as the last coat is finished, remove the painters tape. If the tape is left on the wall too long, you run the risk of pulling up some of the paint. Let the last coat fully dry before you start on the neighboring section.
Instead of buying another paint tray, just purchase a few inexpensive plastic paint tray liners. You can switch them when you change colors.
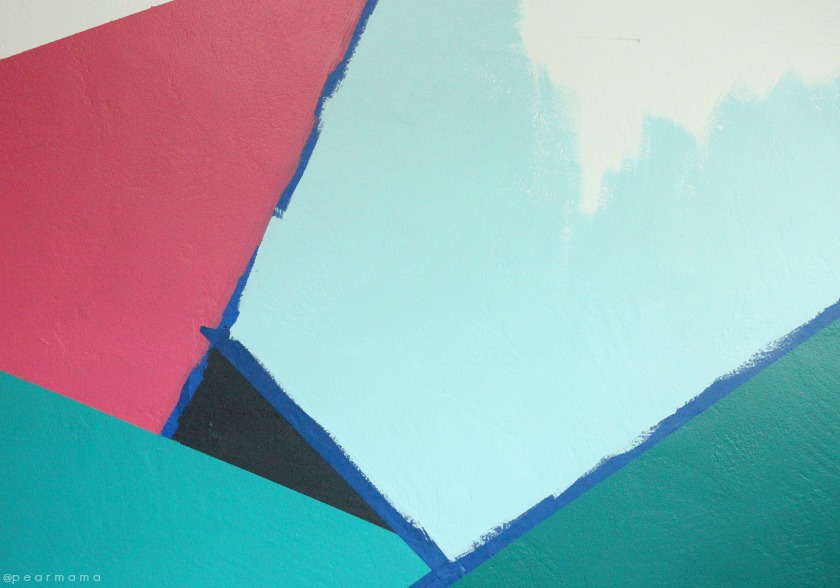
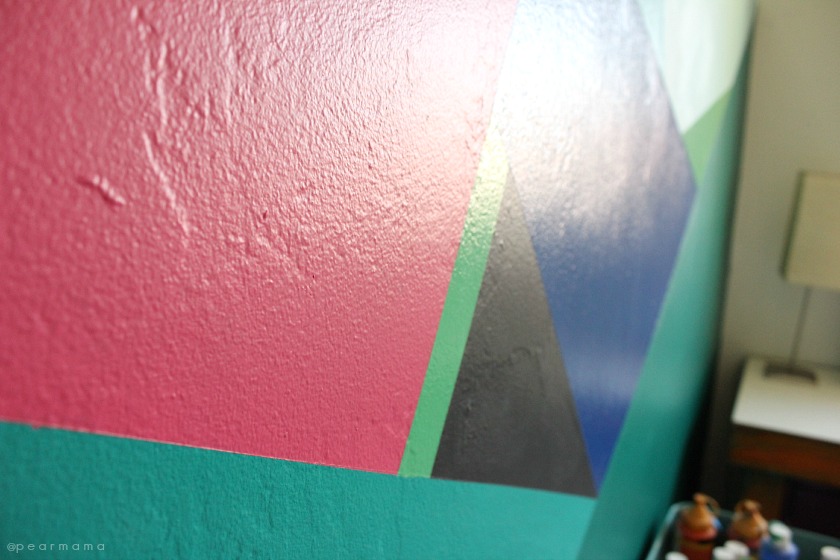
When it is time to start painting the next section, you must align the blue tape over the section that has already been painted and let it fully dry. Adding a bit of the wall color over the taped edge will fill in the texture on the wall and will give you a crisp line between both sections. As I began to paint, my creative juices started flowing. I decided to venture out of my blue/green palette and added a pop of pink.
RELATED: National Painting Week | DIY Stained Pallet Wall
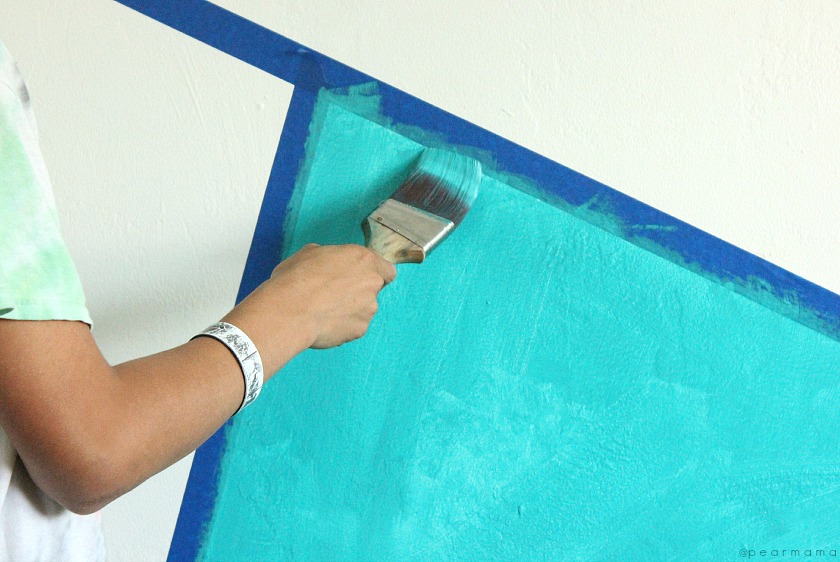
If you choose to add smaller geometric shapes along the way, you can bypass the paint roller and use a quality paintbrush instead. This made the process of painting additional interesting shapes much easier.
RELATED: Make Your Own Mexican “Tile” with Paint
Be creative! Don’t be afraid to try different color combinations. Bold color choices will give your project that wow factor.
DIY tip: Be sure to repeat colors in more than one place so the overall design is balanced and harmonious.
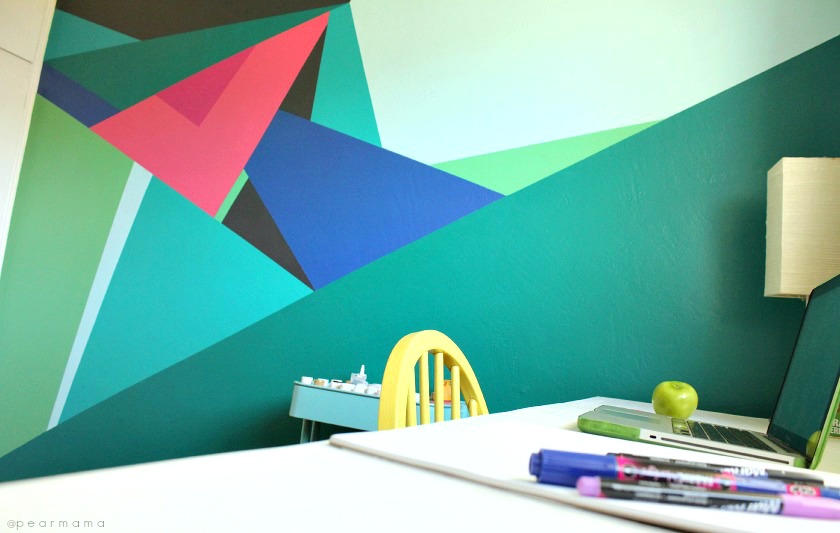
Once my geometric wall was all said and done, I fell in love with my design. So chic and modern and it looks like real art on the wall. My home office looks amazing!
How has National Painting Week inspired your next paint project?
Disclosure: This post is sponsored by Sherwin-Williams. All thoughts are my own.

This wall is gorgeous! And you make it look so easy!Pinning this for when I get the urge to repaint my office wall in my bedroom. 😀
Thanks, Leslie! It just takes a little patience and good paint but you can totally do it. My office feels so fancy now. 🙂
Oh my god!! I LOVE the colors, the geometric design, everything! I think you did a great job changing this wall, felicitaciones!!!
Thank you, Dari! My favorite part is the pink triangle. <3
What are the other colors? I see 7 colors on the wall, but you only listed five. What are the names of your black color and your bright blue color?
Maybe 8 colors. Is there a darker pink color?
Hi, Allison! Sorry for the confusion. I went ahead and listed all of the colors I used for this project. There were 8!
Thanks!!